
이번 포스팅에서는 Nuxt.js 프로젝트에 Contentful API를 연결하는 방법을 알려드리도록 하겠습니다.
Nuxt 프로젝트에 Contentful 패키지 설치
프로젝트에 Contentful 패키지를 설치합니다.
npm install --save contentful @nuxtjs/dotenv

or

yarn add contentful @nuxtjs/dotenv
Nuxt 프로젝트 plugins 폴더에 contentful.js를 추가합니다.
// plugins/contentful.js

const contentful = require("contentful"); // 방금 전에 설치한 contentful 패키지를 불러옵니다.

// contentful의 createClient 메소드를 통해 클라이언트 설정
const client = contentful.createClient({
  space: process.env.CTF_SPACE_ID,
  accessToken: process.env.CTF_ACCESS_TOKEN
});

module.exports = client;
프로젝트 루트 디렉토리에 .env 파일을 만들고 contentful 환경변수를 추가합니다.
contentful에서 부여받은 space id와 access token을 추가합니다.
CTF_SPACE_ID=space 아이디
CTF_ACCESS_TOKEN= contentful access token
Space_id 확인하는 방법
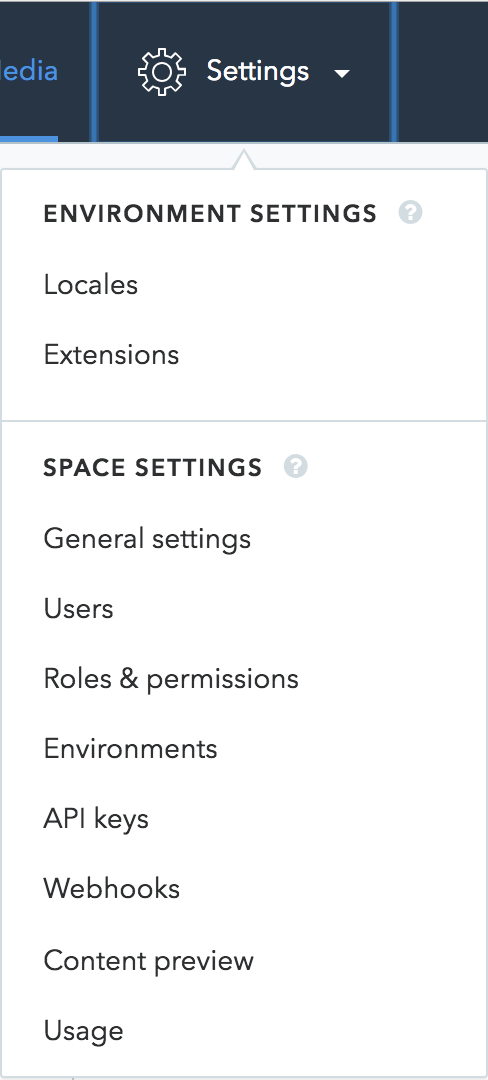
contentful 웹사이트에 Setting탭에 General settings에 들어가면, space id를 확인할 수 있습니다.
Access_token 받는 방법
contentful 웹사이트에서 Setting탭의 Apikeys 항목을 클릭합니다.
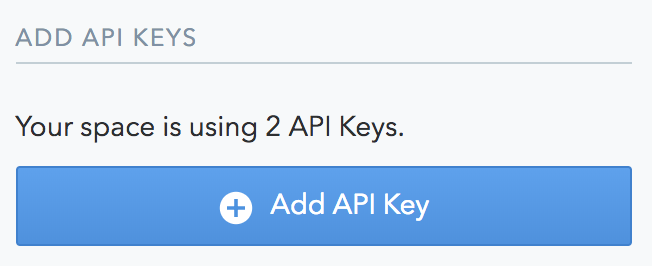
우측의 add api key 버튼을 클릭합니다.
api key가 생성되었다면, access token 목록 중에 Content Delivery API - access token의 api key가 있을 것입니다. api키를 복사해주고, 우측 상단에 저장버튼을 눌러서 저장합니다.
다시 .env 파일로 돌아가서 발급받은 space_id와 access_token을 환경변수에 세팅해줍니다.
CTF_SPACE_ID=hello_space
CTF_ACCESS_TOKEN=513d89115ec444d03dqwed0e19bdb0a836862be5e9dcd09alqwe3cf0c320d
.env 설정이 완료되었다면, nuxt.config.js 파일을 수정합니다.
// nuxt.config.js
require("dotenv").config(); // 파일 최상단에 dotenv 패키지를 불러온다.

module.exports = {
  ...
  plugins: ["~/plugins/contentful"],
  modules: [@nuxtjs/dotenv]
}
Contentful 데이터 가져오기
자 이제 vue 컴포넌트에 저희가 가지고 있는 포스팅 데이터를 가져오도록 하겠습니다.
코드는 async/await 방식으로 비동기 데이터를 처리했습니다.
// pages/index.vue
<script>
import client from '~/plugins/contentful';
export default {
async asyncData() {
let { items } = await client.getEntries({
content_type: 'post',
order: '-sys.createdAt'
});
console.log(items);
return {
items
}
}
}
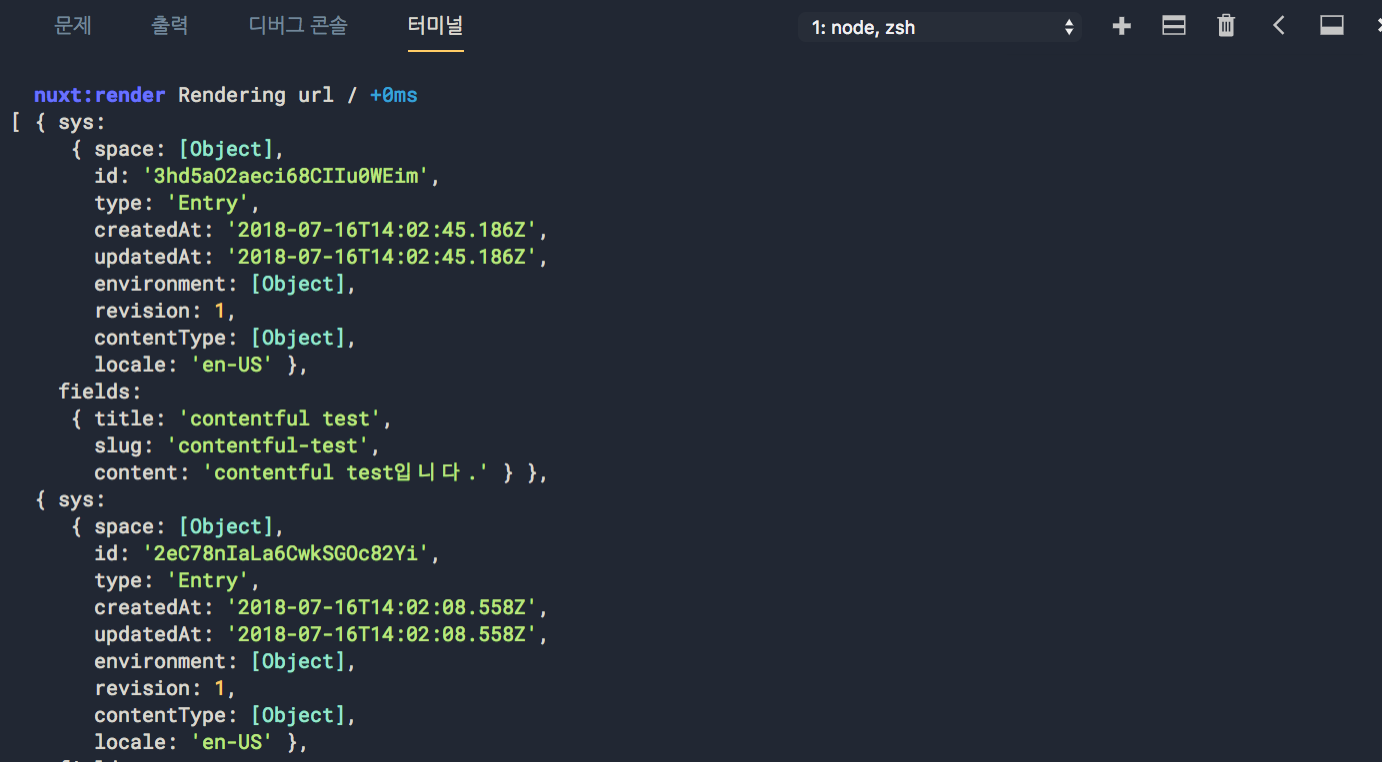
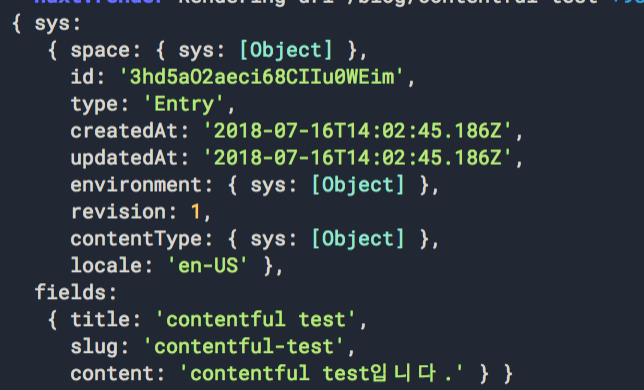
</script>yarn dev or npm run dev로 프로젝트를 실행하고 localhost:3000으로 접속하면, 터미널에 아래와 같이 데이터가 정상적으로 파싱된 것을 확인할 수 있습니다.
vue single file component에 대한 이해가 없다면, 아래의 링크를 참고해주세요.
https://kr.vuejs.org/v2/guide/single-file-components.html
그럼 이제 파싱한 데이터를 화면에 그려보겠습니다.
<template>
  <section>
    <h1>POST</h1>
    <div>
      <h2 v-for="(item, index) in items" :key="index">
        {{ item.fields.title }}
      </h2>
    </div>
  </section>
</template>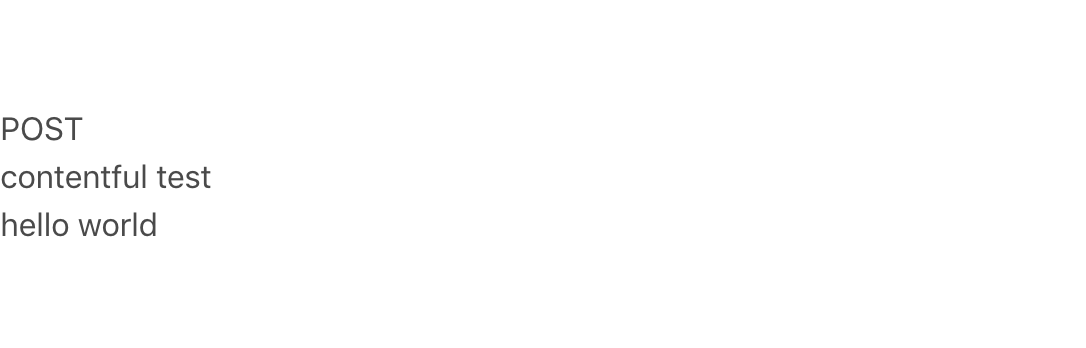
v-for="(item, index) in items"
v-for 디렉티브를 모르실 수 있으니 간단히 설명하고 넘어가겠습니다. 요전에 asyncData에서 return한 items를 배열을 기반으로 리스트를 렌더링할 수 있습니다. item in items는 vue에서 리스트를 순회하기 위한 특별한 문법입니다. items는 원본 데이터 배열이고 item은 반복되는 배열 요소의 별칭입니다.
<template>
  <section>
    <h1>POST</h1>
    <div>
      <h2 v-for="(item, index) in items" :key="index">
        <nuxt-link :to="`/blog/${item.fields.slug}`">{{ item.fields.title }}</nuxt-link>
      </h2>
    </div>
  </section>
</template>

<script>
import client from '~/plugins/contentful'
export default {
  async asyncData() {
    let { items } = await client.getEntries({
      content_type: 'post2',
      order: '-sys.createdAt'
    });

    return {
      items
    }
  },
  head: {
    title: "Latest Posts"
  }
}
</script>
포스트들의 리스트를 보여주는 페이지를 완성했으니 포스트를 보여주는 페이지를 만들어 보겠습니다.
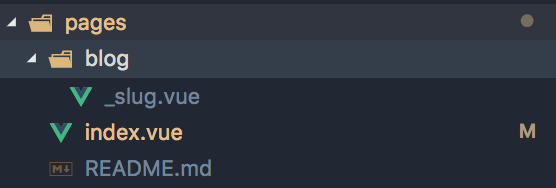
nuxt에서는 pages 폴더를 기준으로 라우팅을 설정합니다. 그래서 pages의 index.vue가 '/' 위치로 자동으로 라우팅을 설정한 것입니다. pages/blog/index.vue는 '/blog'로 라우팅되죠. 그럼 해당 포스팅을 보여주는 라우팅을 처리하기 위해서는 dynamic route를 설정해야되는데요. nuxt에서 _slug.vue처럼 파일 이름 앞에 _(언더바)를 추가하면, 해당 slug 이름에 따라서 다이나믹하게 라우트처리를 할 수 있습니다.
pages폴더 안에 blog폴더를 만들고 _slug.vue를 생성합니다.
<script>
// pages/blog/_slug.vue

import client from '~/plugins/contentful'
export default {
  async asyncData({ params }) {
    let { items } = await client.getEntries({
      content_type: 'post2',
      'fields.slug': params.slug
    });

    return {
      post: items[0]
    }
  },
  head() {
    return {
      title: this.post.fields.title
    }
  }
}
</script>
asyncData의 params변수를 통해서 slug 키워드를 가져올 수 있는데 getEntries에 slug 키워드를 추가하면 해당 slug의 데이터만 파싱해서 가져올 수 있습니다.
http://localhost:3000/blog/{slug}
예시 : http://localhost:3000/blog/contentful-test
<template>
  <div>
    <h2>{{ post.fields.title }}</h2>
    <p>{{ post.fields.content }}</p>
  </div>
</template>

<script>
import client from '~/plugins/contentful'
export default {
  async asyncData({ params }) {
    let { items } = await client.getEntries({
      content_type: 'post2',
      'fields.slug': params.slug
    });
    console.log(items[0]);
    return {
      post: items[0]
    }
  },
  head() {
    return {
      title: this.post.fields.title
    }
  }
}
</script>
아래처럼 화면에 포스트 글과 컨텐츠가 노출되면 정상적으로 데이터가 화면에 정상적으로 렌더링된 것입니다.
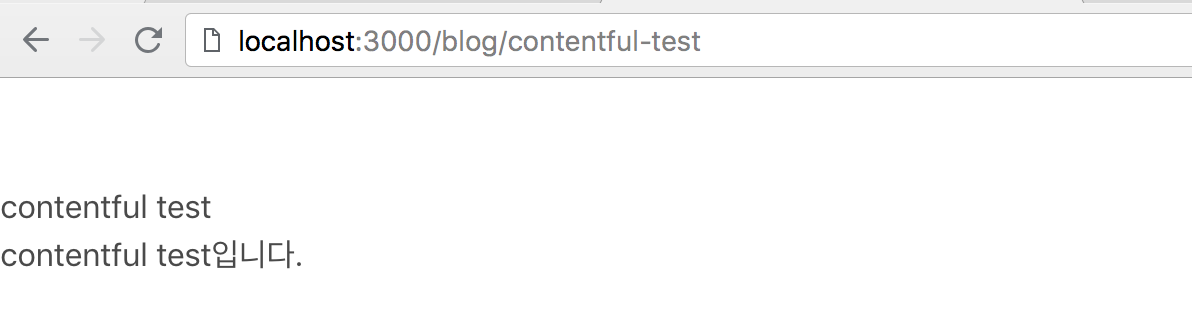
이번 포스팅에서는 contentful API를 nuxt 프로젝트에 연결하고 데이터를 화면에 렌더링까지 해봤습니다. 간단하게 데이터를 어떻게 연결하고, 비동기로 받은 데이터를 vue component에서 어떻게 처리하는지에 대해서 이해하시면 됩니다.
설명이 다소 어렵거나 이해가 되지 않는 부분이 있다면 댓글로 질문해주세요! + 틀린 부분도 있을 수 있습니다. 지적해주시면 수정하겠습니다!
다음 포스팅에서는 Netlify를 활용해서 서버에 배포하는 방법을 알려드리겠습니다.
'개발 > Nuxt.js' 카테고리의 다른 글
이 포스팅은 쿠팡파트너스 활동의 일환으로, 이에 따른 일정액의 수수료를 제공받습니다.