
GCP App Engine에 Nuxt Application을 배포하는 방법에 대해서 소개하도록 하겠습니다. AWS에 익숙하신 분들은 GCP App Engine과 AWS Elastic Beanstalk과 동일하다고 보시면 됩니다. 해당 포스팅은 GCP 회원가입 및 결제 등록 그리고 Nuxt의 기본지식에 대해서는 다루지 않습니다.
Nuxt 설치
필자는 npx create-nuxt-app 명령어를 사용해서 Nuxt 기본 보일러플레이트를 설치했습니다. 기존에 프로젝트가 존재하거나, 다른 방법을 아신다면 해당 방법을 사용하셔도 무방합니다.
// install create-nuxt-app
npx create-nuxt-app gcp-nuxt-example

// npx create-nuxt-app <my-project>
// or
// npm init nuxt-app <my-project>
// or
// yarn create nuxt-app <my-project>
Google Cloud SDK(gcloud) 설치하기
프로젝트 생성
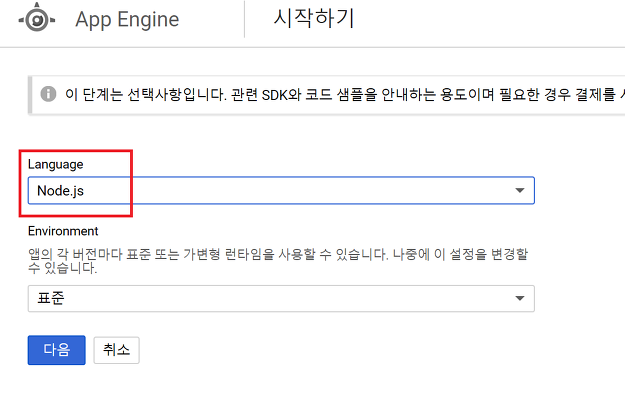

App Engine 환경언어는 Node.js 그리고 리소스 배포는 나중에 배포를 선택하고 넘어갑니다.
시스템 요구사항
Cloud SDK는 Linux, macOS, Windows에서 실행됩니다. 이를 위해서는 Python 2.7.x가 필요합니다.
포스팅에서는 macOS 기준으로 설치하는 방법을 설명합니다.
이미지 중간에 운영체제에 따라서 설치파일이 나눠져있는데 본인 macOS 비트에 해당하는 패키지를 선택하고 다운로드합니다.
gcloud 명령어를 사용하기 위해서 $PATH를 설정
사용중인 shell을 확인합니다
echo $SHELL필자는 zsh를 사용하고 있어서 /bin/zsh 라고 나오는데, 설정을 따로 안하셨다면 기본이 bash라 /bin/bash으로 설정되어 있을 겁니다.
$ vi ~/.bashrc # bash를 쓰고 있는 경우
or
$ vi ~/.zshrc  # zsh를 쓰고 있는 경우
저는 vscode로 편하게 수정하기 위해 아래와 같은 명령어를 사용했습니다.
code ~/.bashrcGOOGLE_CLOUD_SDK_PATH는 google-cloud-sdk의 현재 폴더 위치를 넣습니다.
## Google Cloud
export GOOGLE_CLOUD_SDK_PATH=[google-cloud-sdk를 넣어둔 경로]
export PATH=$PATH:$GOOGLE_CLOUD_SDK_PATH/bin변경된 사항을 적용하기 위해서 source 명령어로 변경사항을 적용합니다.
$ source .bashrc # bash를 쓰고 있는 경우
or
$ source .zshrc # zsh를 쓰고 있는 경우
gcloud 명령어를 사용할 수 있게 잘 세팅되었는지 확인하기 위해 version을 확인해봅니다.
gcloud --version정상적으로 gcloud 명령어를 사용할 수 있는 환경이 세팅됐습니다.
gcloud 초기화하기
nuxt 프로젝트를 배포하기 위해서 기본적인 gcloud 환경설정을 진행합니다.
gcloud init
한번도 환경설정을 해보지 않았다면 Create a new configuration으로 진행하시면 됩니다.
gcloud 인증을 진행합니다.
프로젝트를 생성한 gcloud 계정으로 인증해주세요
프로젝트를 선택할 때 이전에 생성한 프로젝트 ID가 있습니다. 해당 ID로 프로젝트를 세팅해주세요.
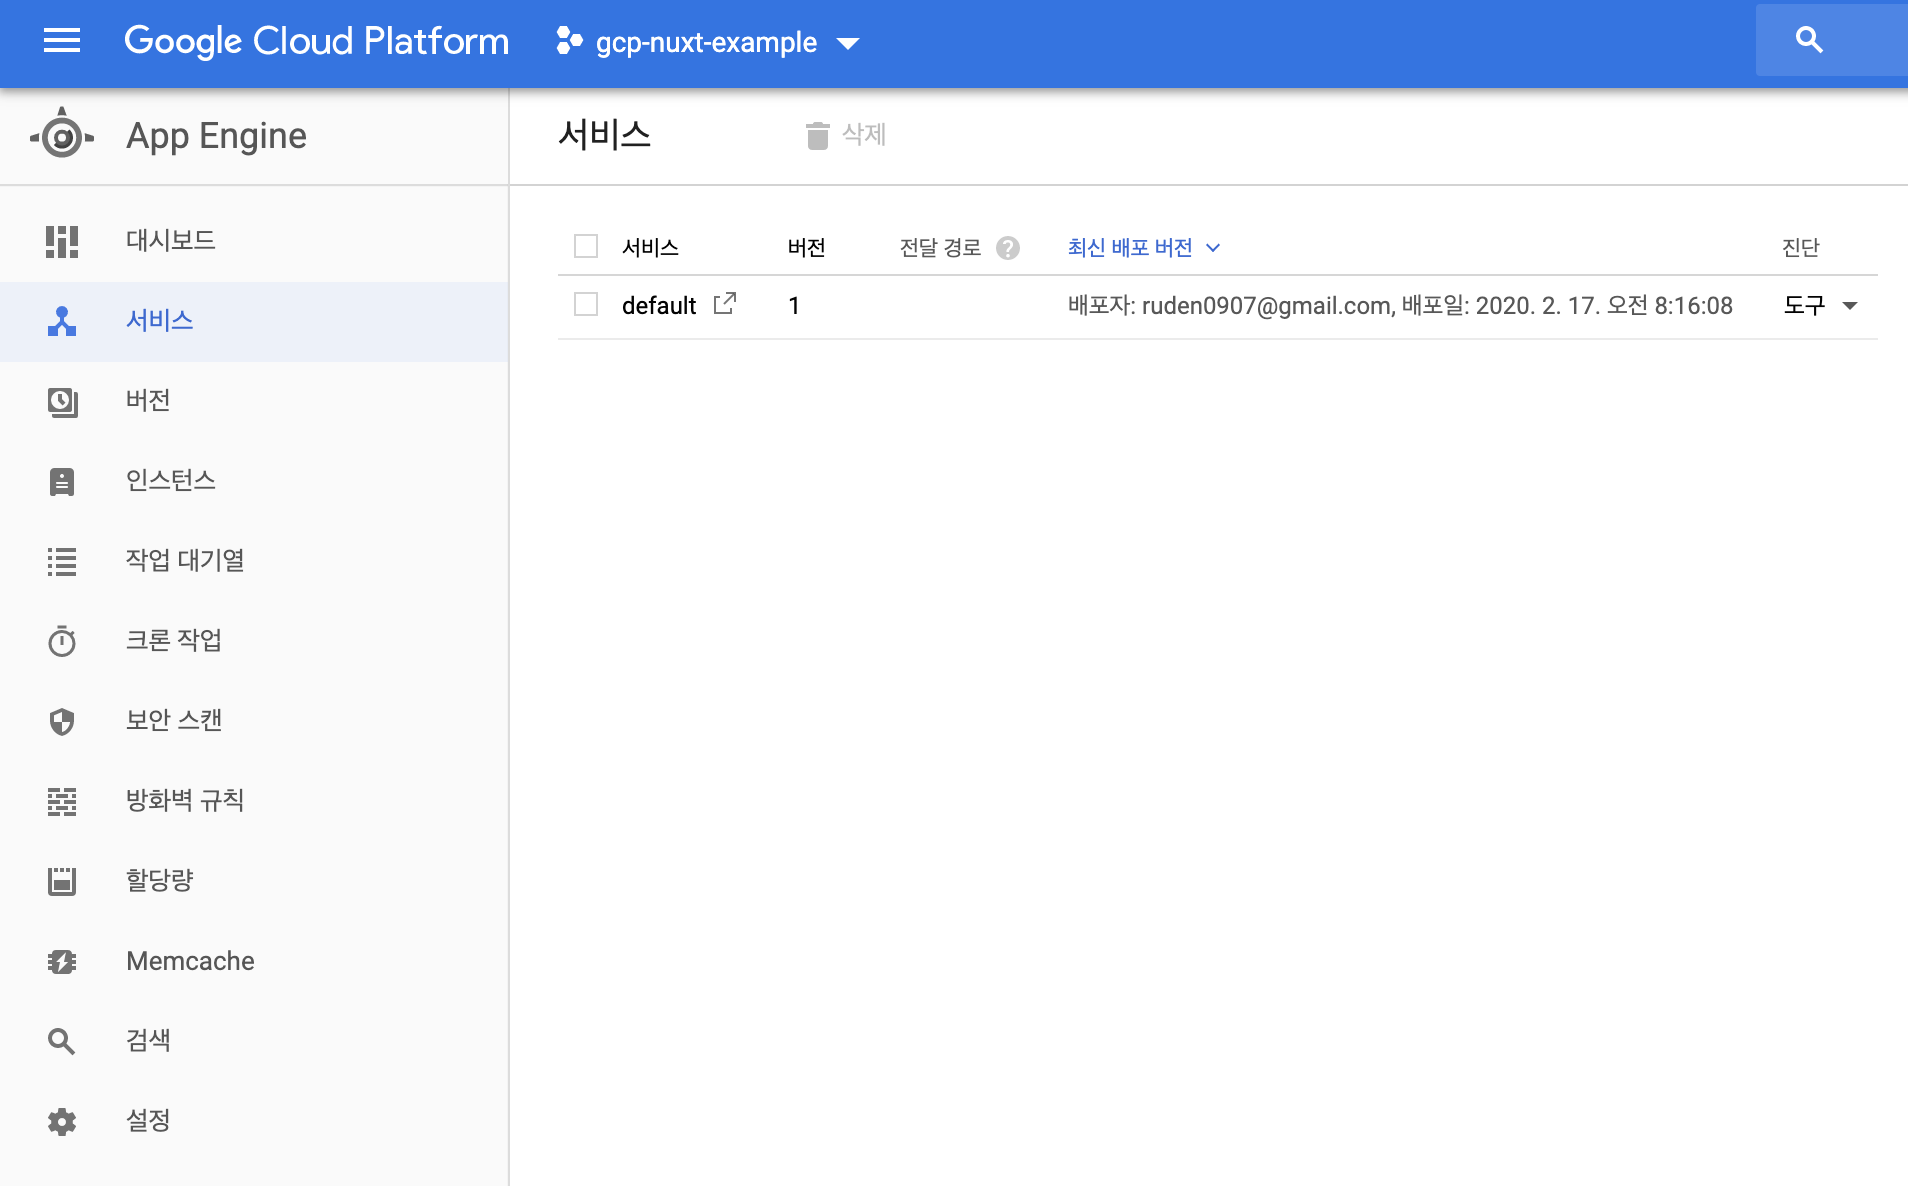
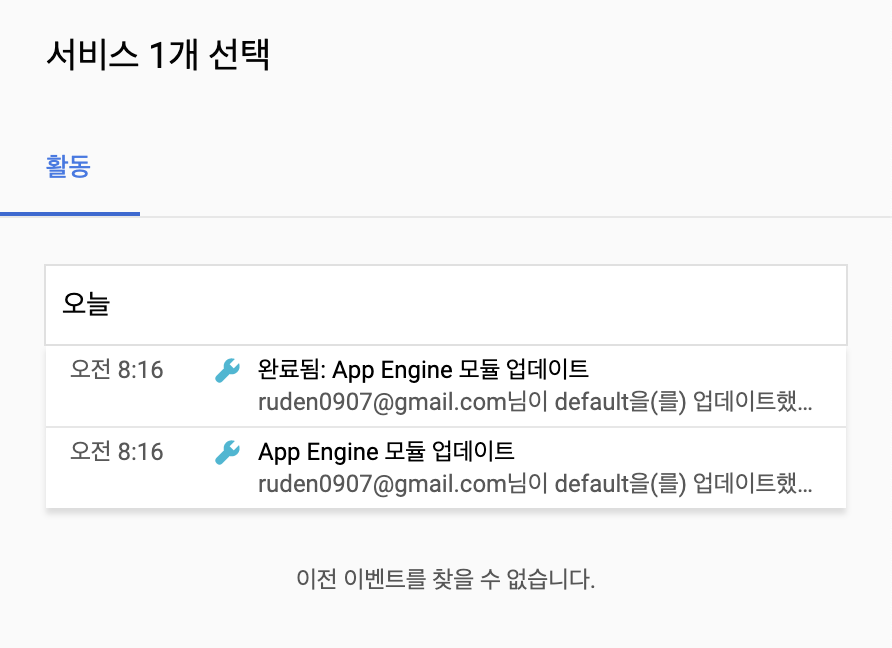
App Engine에 배포
리전과 영역 | Cloud Filestore 문서 | Google Cloud
Cloud Filestore 인스턴스는 리전 내의 영역에 위치합니다. 리전은 리소스를 실행할 수 있는 특정 지리적 위치이며 각 리전은 여러 개의 영역으로 분할됩니다. 예를 들어 미국 중부의 us-central1 리전에는 us-central1-a, us-central1-b, us-central1-c, us-central1-f 영역이 있습니다. 자세한 내용은 위치 및 리전을 참조하세요. Cloud Filestore API를 포함한 일부 Google Cloud
cloud.google.com
2020년에 서울리전(asia-northeast3)을 설립하는 것이 확정되었고, 조만간 만나볼 수 있을 것 같습니다. 그때까지는 가장 가까운 리전인 오사카를 사용하겠습니다. (오사카리전(asia-northeast2)도 현재 스케쥴링을 지원하지 않아서.. 스케쥴링은 사용하려면 도쿄리전(asia-northeast1)으로 선택하세요)
가장 가까운 오사카리전(asia-northeast2)을 사용합니다.
app.yaml 파일 작성
app.yaml을 프로젝트 root에 세팅을 해야 app engine 배포를 할 수 있습니다.
app.yaml 내용은 아래와 같습니다.
# Copyright 2018, Google, Inc.
# Licensed under the Apache License, Version 2.0 (the "License");
# you may not use this file except in compliance with the License.
# You may obtain a copy of the License at
#
#    http://www.apache.org/licenses/LICENSE-2.0
#
# Unless required by applicable law or agreed to in writing, software
# distributed under the License is distributed on an "AS IS" BASIS,
# WITHOUT WARRANTIES OR CONDITIONS OF ANY KIND, either express or implied.
# See the License for the specific language governing permissions and
# limitations under the License.

# [START app_yaml]
runtime: nodejs10

#handlers:
#  - url: /.*
#    script: auto
#    secure: always
#    redirect_http_response_code: 301
# [END app_yaml]
yarn build && gcloud app deploy
예제 코드는 깃허브 저장소에 올려놨습니다. 필요하시면 참고하시면 될 것 같습니다.
'개발 > Nuxt.js' 카테고리의 다른 글
| nuxt-link Boolean값에 따라서 조건부 처리하는 방법 (1) | 2020.04.14 |
|---|---|
| Nuxtjs에서 scss 전역변수 사용하는 방법 (How to use Scss variables, mixins & functions globally in Nuxt.js) (0) | 2020.02.23 |
| Nuxt 301 Redirect 처리하는 방법 (Handling Redirects in Nuxt.js) (0) | 2020.02.11 |
| Nuxt.js x Contentful x Netlify로 static blog 개발하기 3강 (0) | 2019.07.29 |
| Nuxt.js x Contentful x Netlify로 static blog 개발하기 2강 (0) | 2019.07.28 |
이 포스팅은 쿠팡파트너스 활동의 일환으로, 이에 따른 일정액의 수수료를 제공받습니다.